- The ADMIN is used to set Dialer configurations, load leads, activate lists, monitor agents and review reports.The AGENT login is used to start/stop dialing, take outbound and inbound calls, update the leads (CRM), set a lead status after each call and set callbacks.Here are the basics to get your Dialer ready to make calls.
1) Login as admin
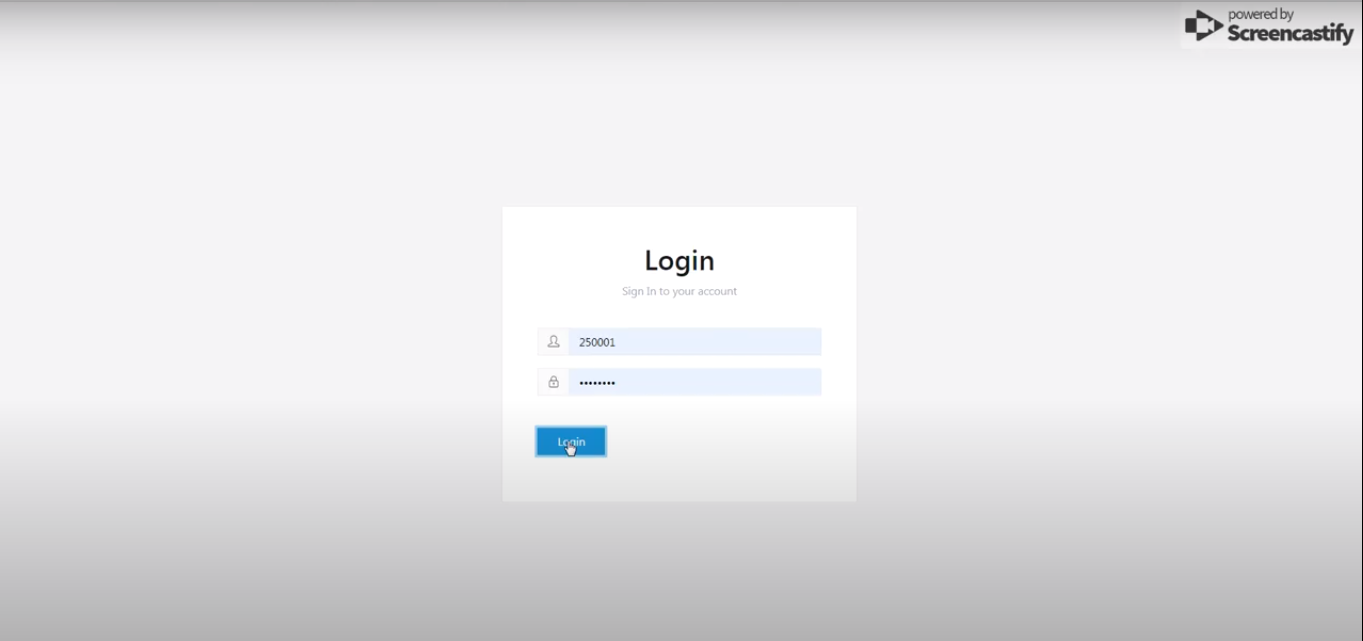
Using Google Chrome browser, login into Administrator using the link sent to you in your signup email. Simply copy the Url into Google Chrome and press enter. The login and password should already be filled in. Press the Login button and you’re in.
You see the Dashboard and you can make any changes like load leads, Monitor your agents, make changes in real time

2) Change the lead display fields
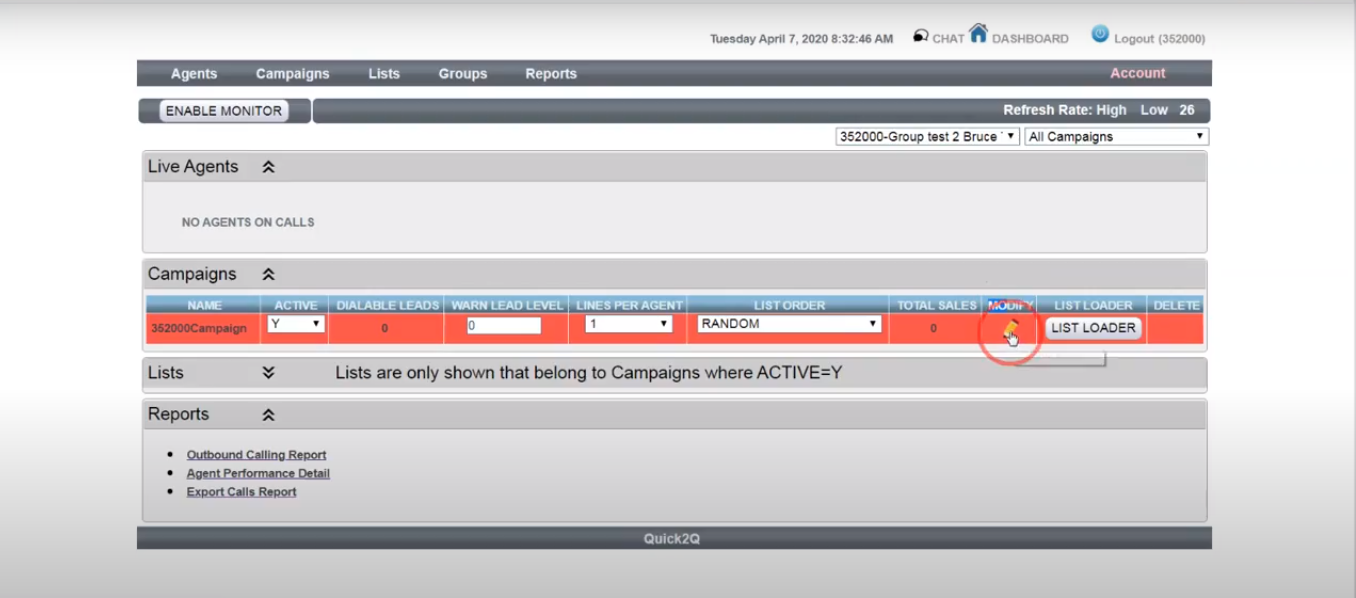
To Change the lead display fields in your campaign (Optional) Dashboard — > Campaigns — > Modify (click on pencil icon)
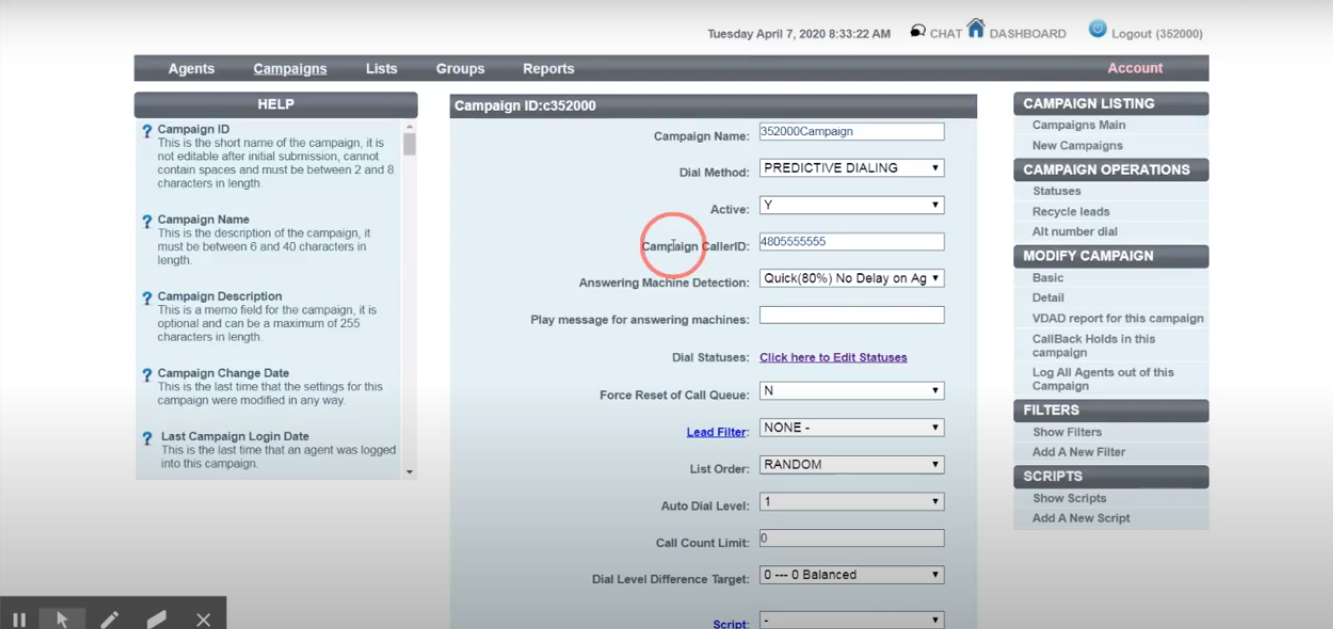
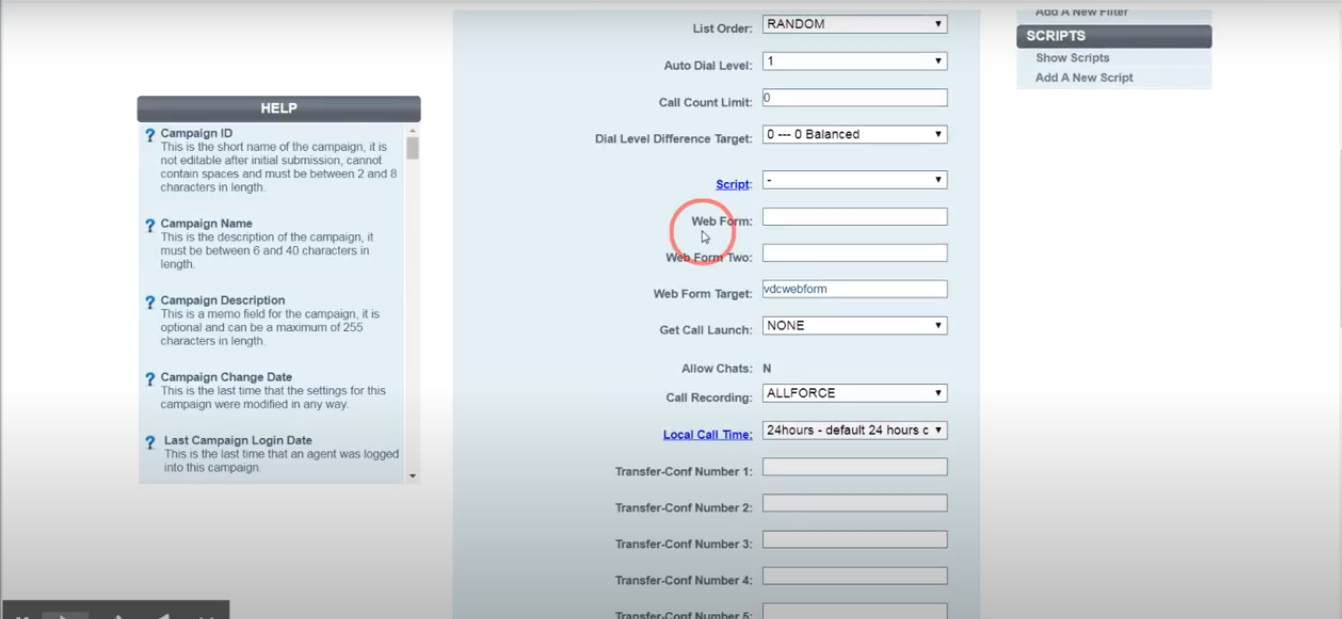
You will now have the basic setting of the campaign where you are able to modify caller ID, third party web forms, selectable conference transfer number and change the customer information field label. Note that there is help information that appears on the left when you select a field.
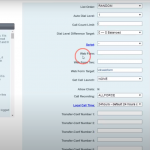
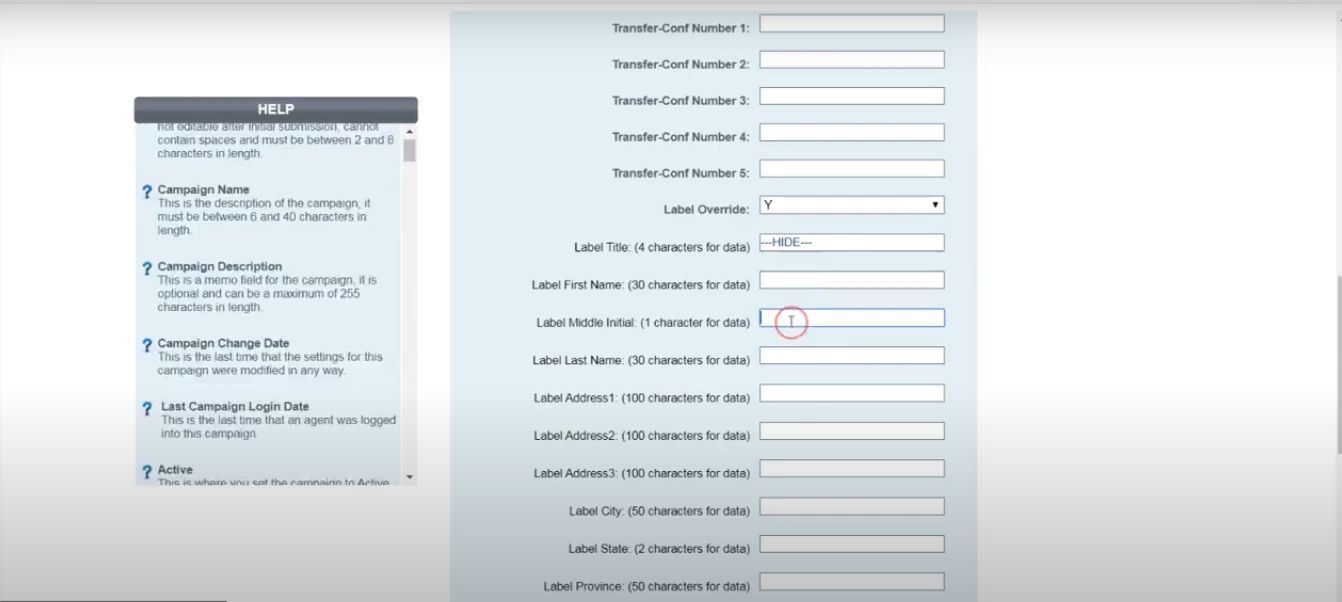
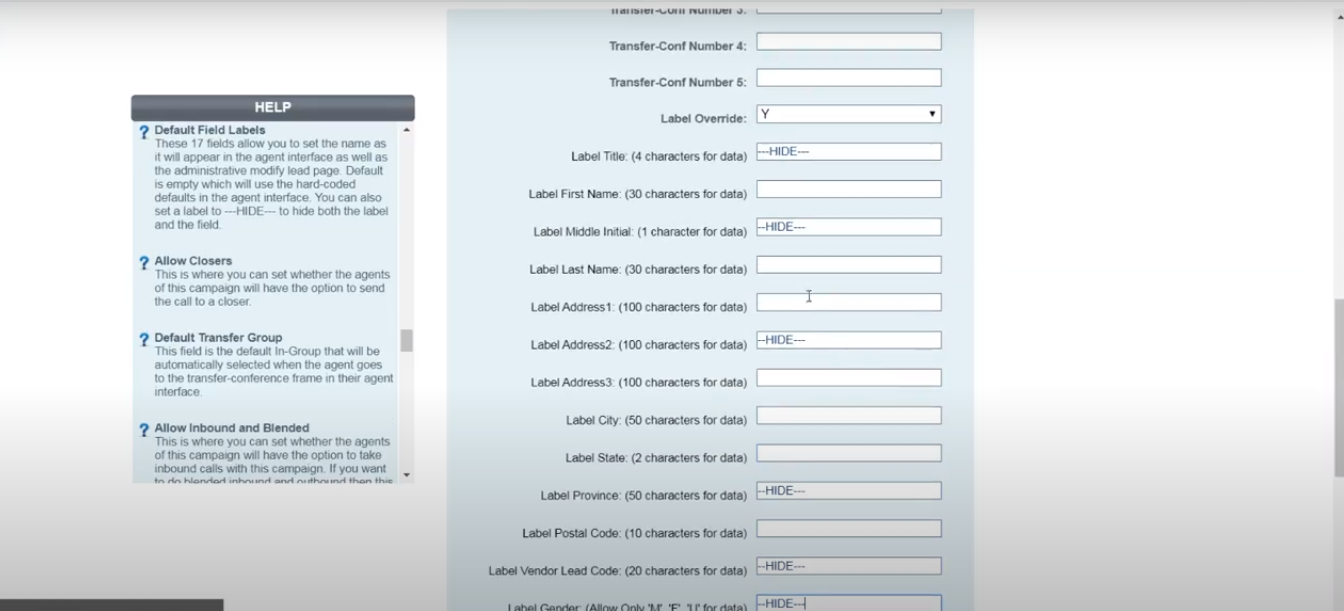
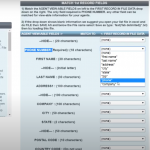
The Label Field names are used to match your Lead Data when loading your lists to dial. This is also the field names your agent will see when taking calls. To see and change any Lead Fields scroll down to the bottom of the Basic campaign section.

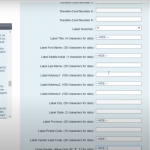
The name fields show you the default name and how many characters are available to store information. If there are any fields you are not using and want to hide then place “—HIDE—” in the text field. If you want to rename a Label then enter the new name in the text field. For example if you want to use “Label Address3” for your company name data just place “Company” in the text field.
Make changes to any other fields. After any changes in the campaign use the submit button at the bottom to save the change. Now go to the dashboard by clicking on “Dashboard” on the upper right corner.
3) Loading leads
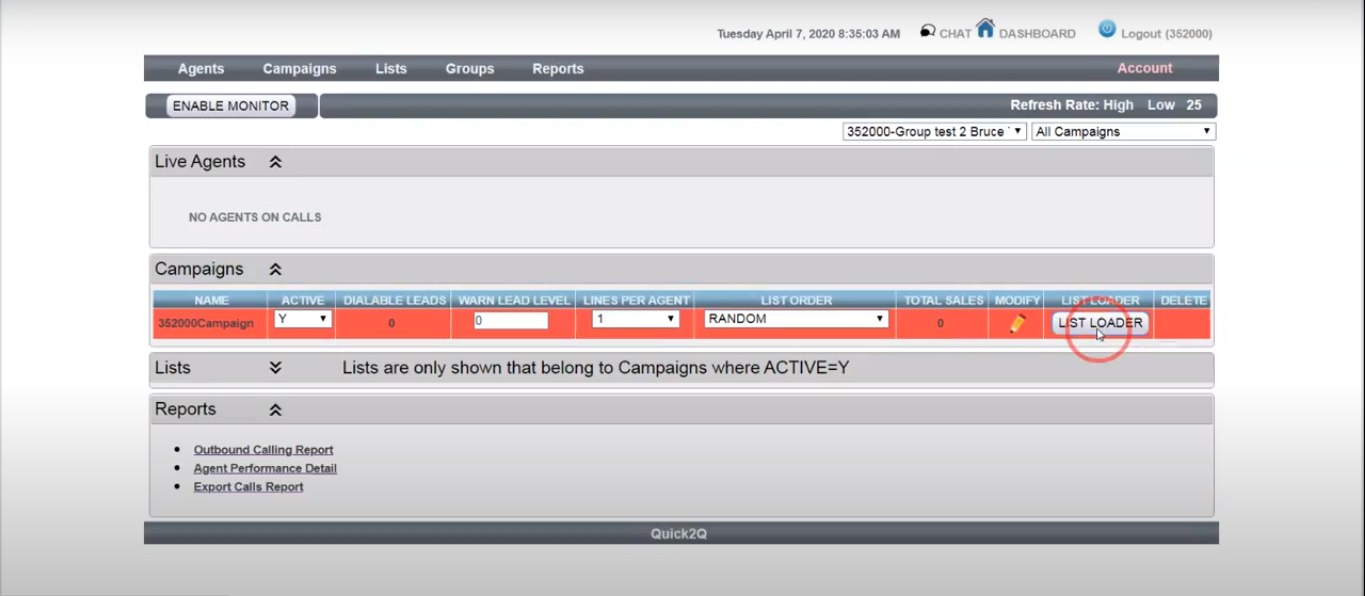
The next task is to load the leads into a list for the campaign. The leads will contain numbers to dial and information that will appear when the call is connected to an agent. To get started, select the “List Loader” button for the campaign section on the dashboard.
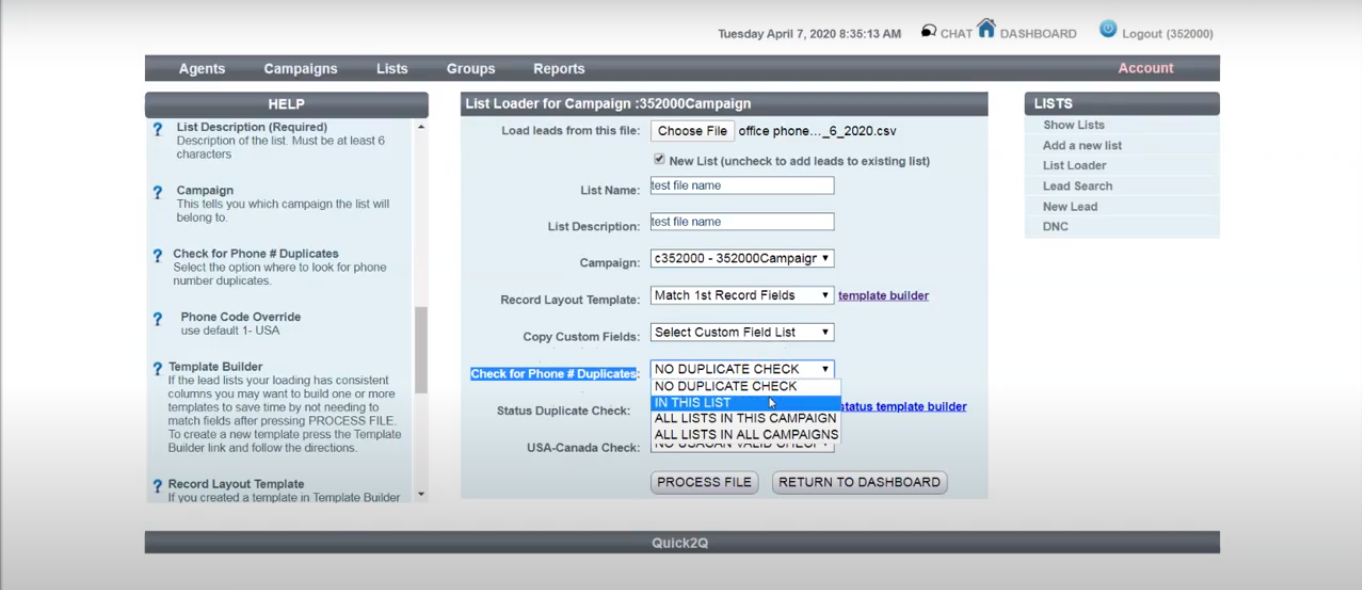
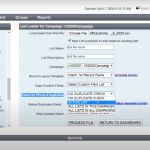
You will be redirected to the Lead Loader section. Here you can choose your lead files to upload. Your data file can be a CSV, Excel or a tab delimited text file. After selecting your file add a “List Name” and “List Description”. The only other field I will suggest at this time is “Check for Phone # Duplicates”. The drop down give you option to check for duplicates in the same list or all lists in the same campaign.
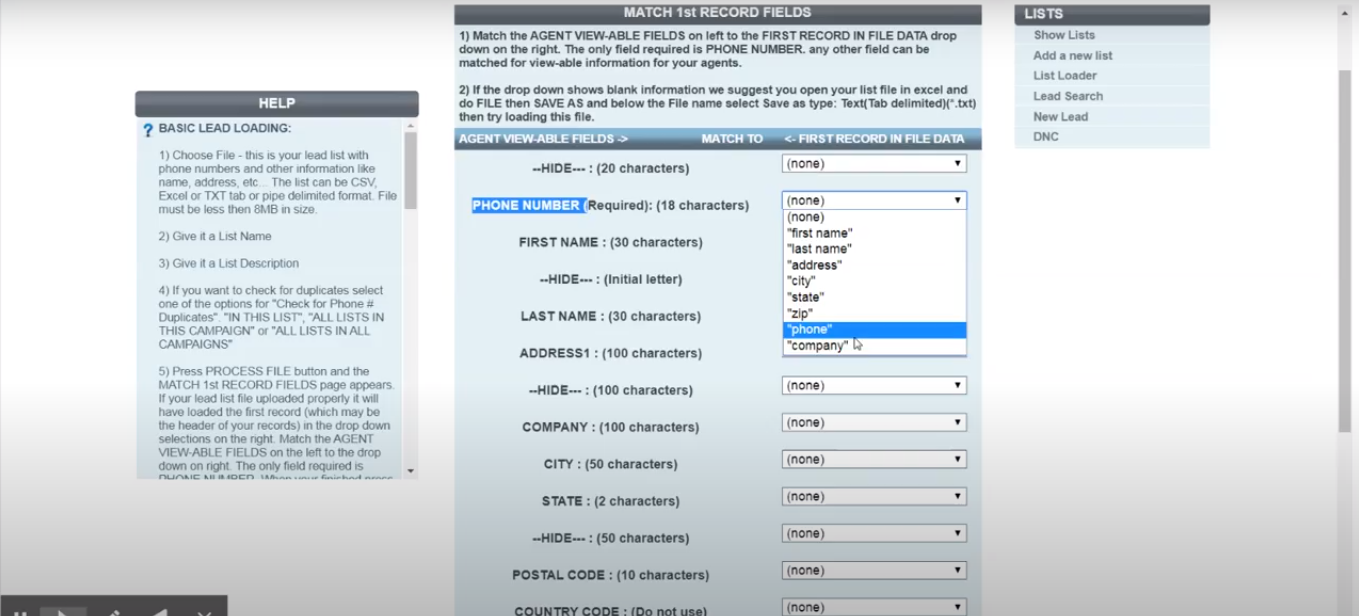
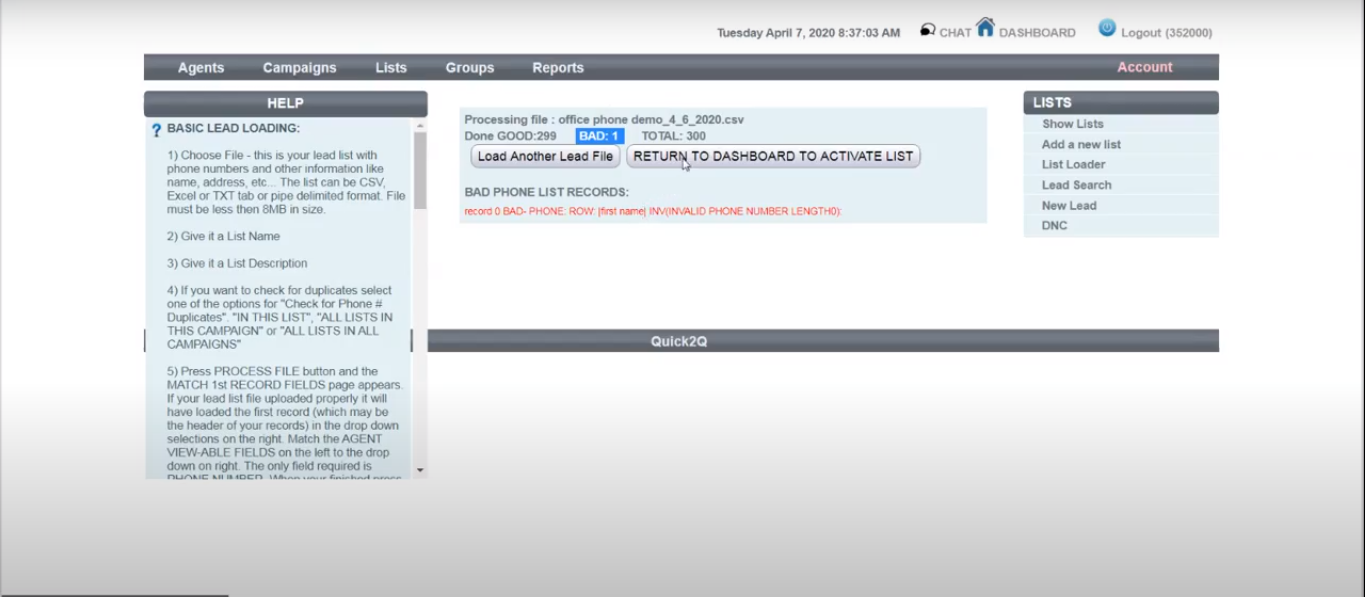
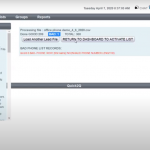
After pressing the “Process file” button you will get into the next step where you need to match up data with the Record Fields. On the left are the Label Fields from step 2 and on the right is the first record of the data you just uploaded. Match the Label fields to the data. The only required field to match is PHONE NUMBER. The other fields are optional. Click the “OK to Process” button to load leads.
4) Activate your list
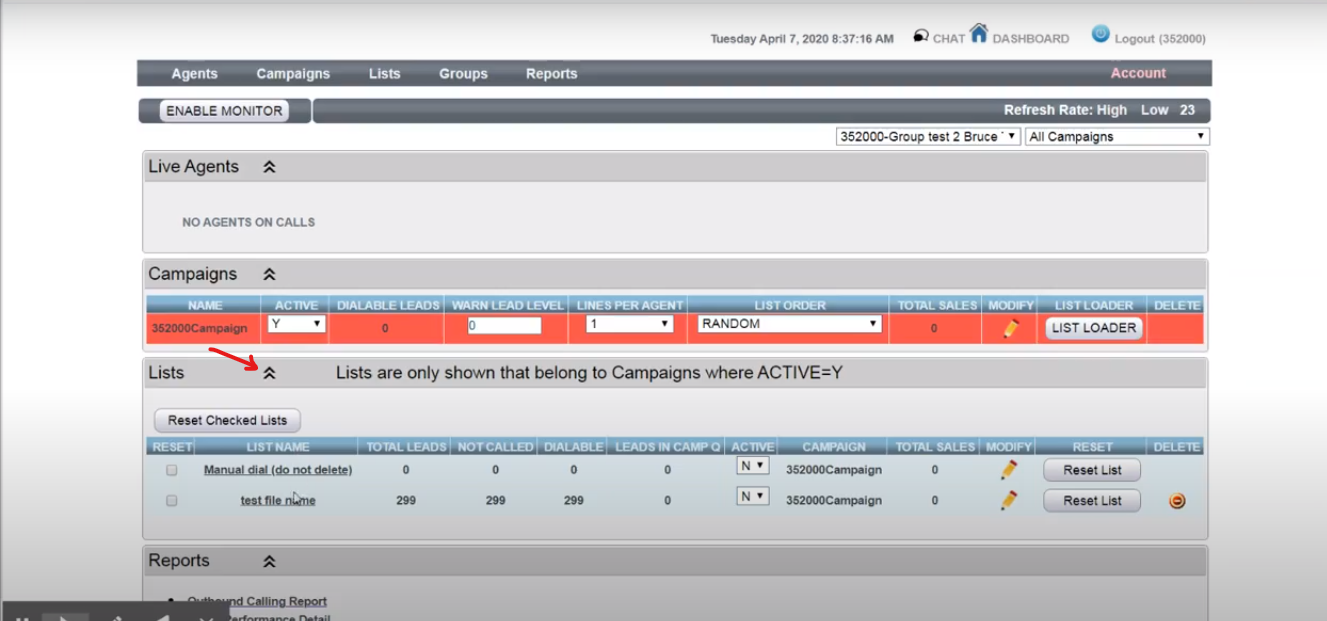
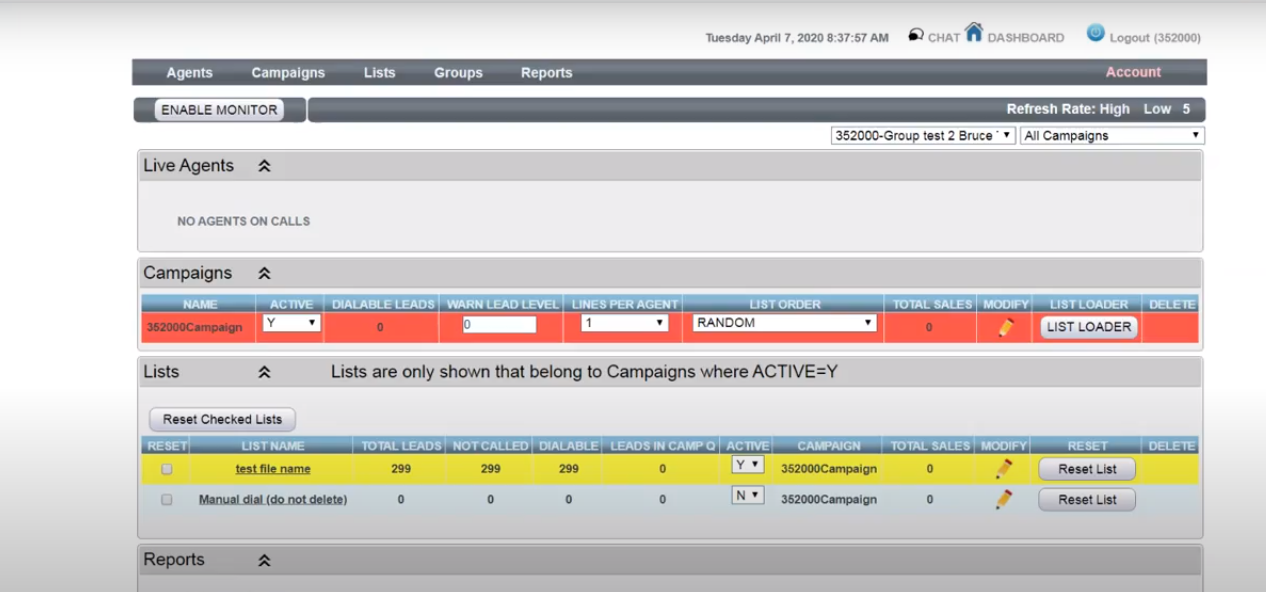
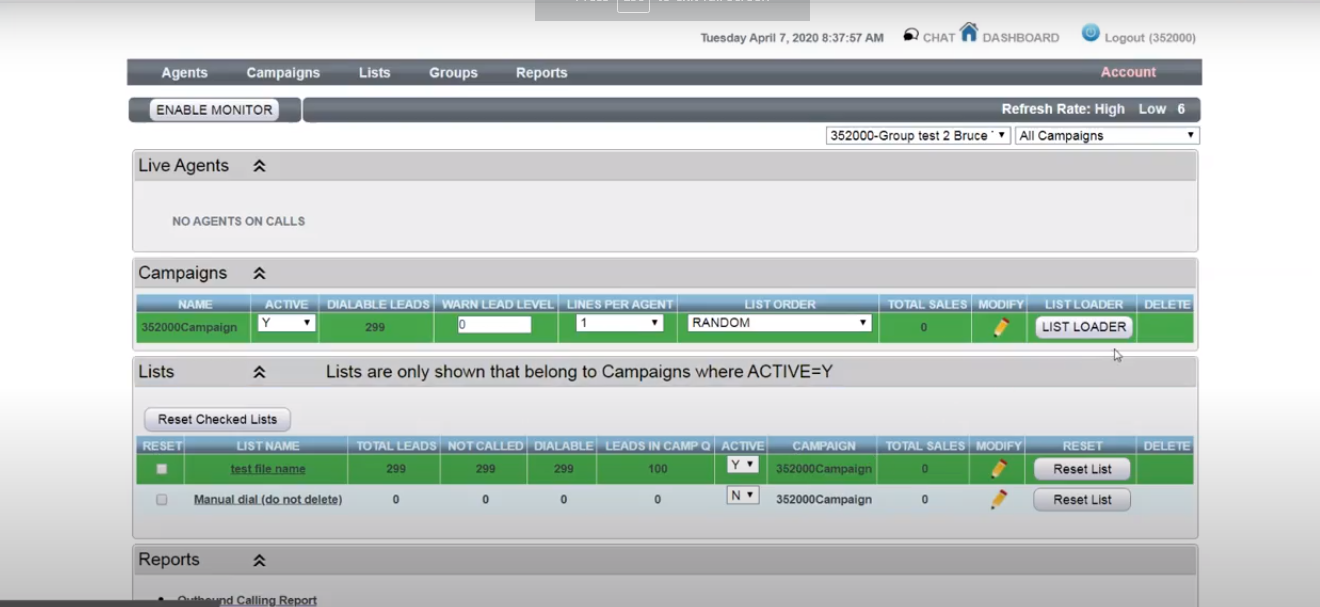
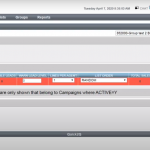
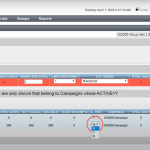
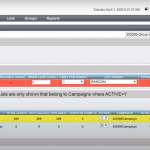
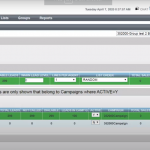
Activate your list to dial Return to the Dashboard. You can see your list under “Lists” section below the campaign. Click on lists section to open this area.
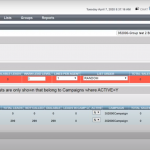
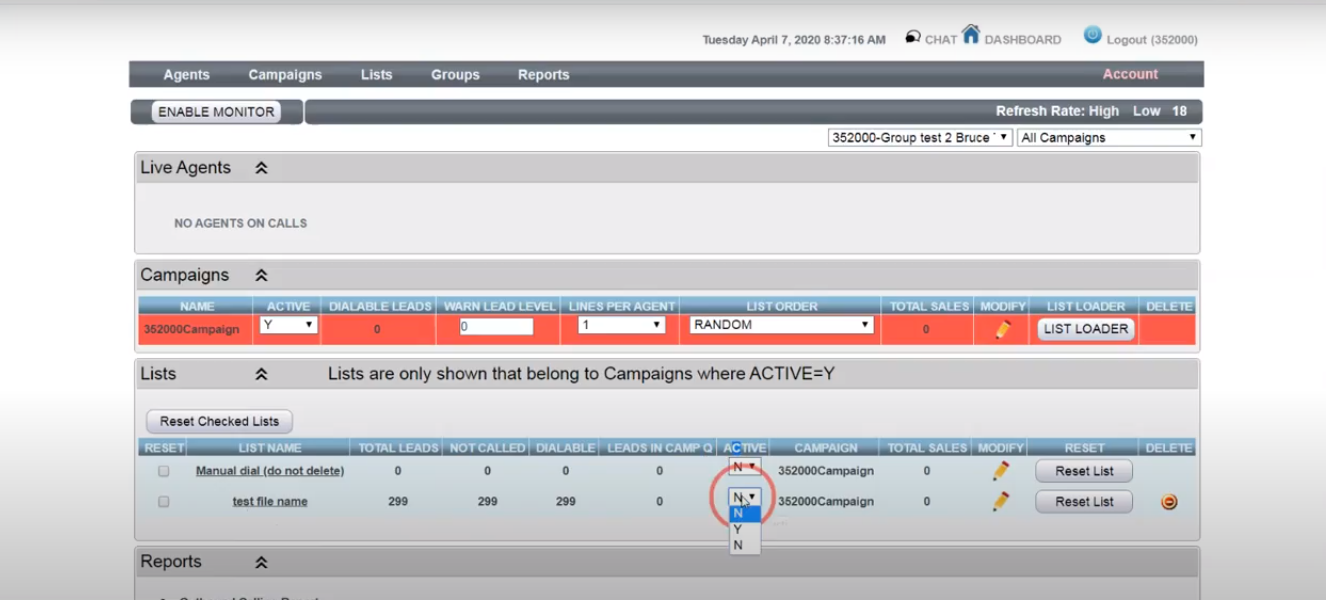
To activate the list, select “Y” in the lists “ACTIVE” column. It’s going to turn yellow and then in a moment will turn green. If the list and campaign on the dashboard turn green then the system is ready to make calls! The calling only starts after an agent logs in and goes into ACTIVE mode.
5) How the Dialer works
• 1 or more lists can be loaded and activated per campaign.
• An agent can only log into 1 campaign at a time. When the agent sets their status to “Active” it will start dialing leads.-
- For Predictive Dialing (default) multiple lines may be dialed and can detect a live person or answering machine. The system does the best if can to detect a live person and only connect those calls to an agent. Agents also have the ability to take inbound calls.
- Progressive Dialing dials 1 line at a time and turns off answering machine detection. Agents also have the ability to take inbound calls.
- Click to Dial allows the agent to preview each lead or just click to dial the next number. Agent can not take inbound calls.
• For a new list, all the numbers will be dialed only 1 time and then stop dialing. When out of leads the list will show red on the dashboard. The list can be reset manually from the dashboard to dial the numbers again. Once reset it will then only re-dial numbers with statuses that are allowed for that campaign. These redial statuses can be modified per campaign.
-