Add DIDs :
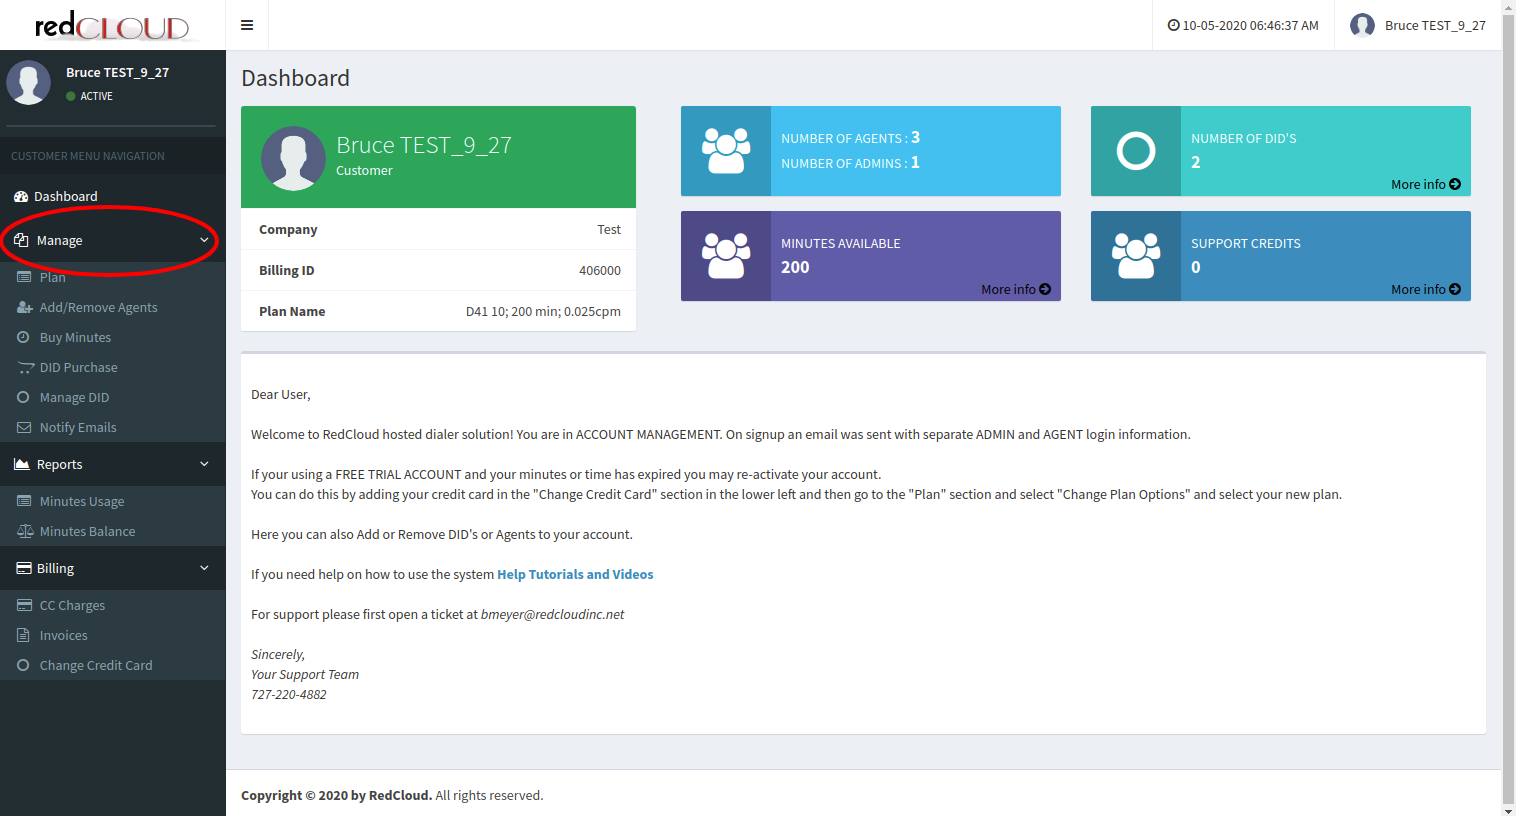
- Please login into your account portal. Once you logged in you will see the dashboard.
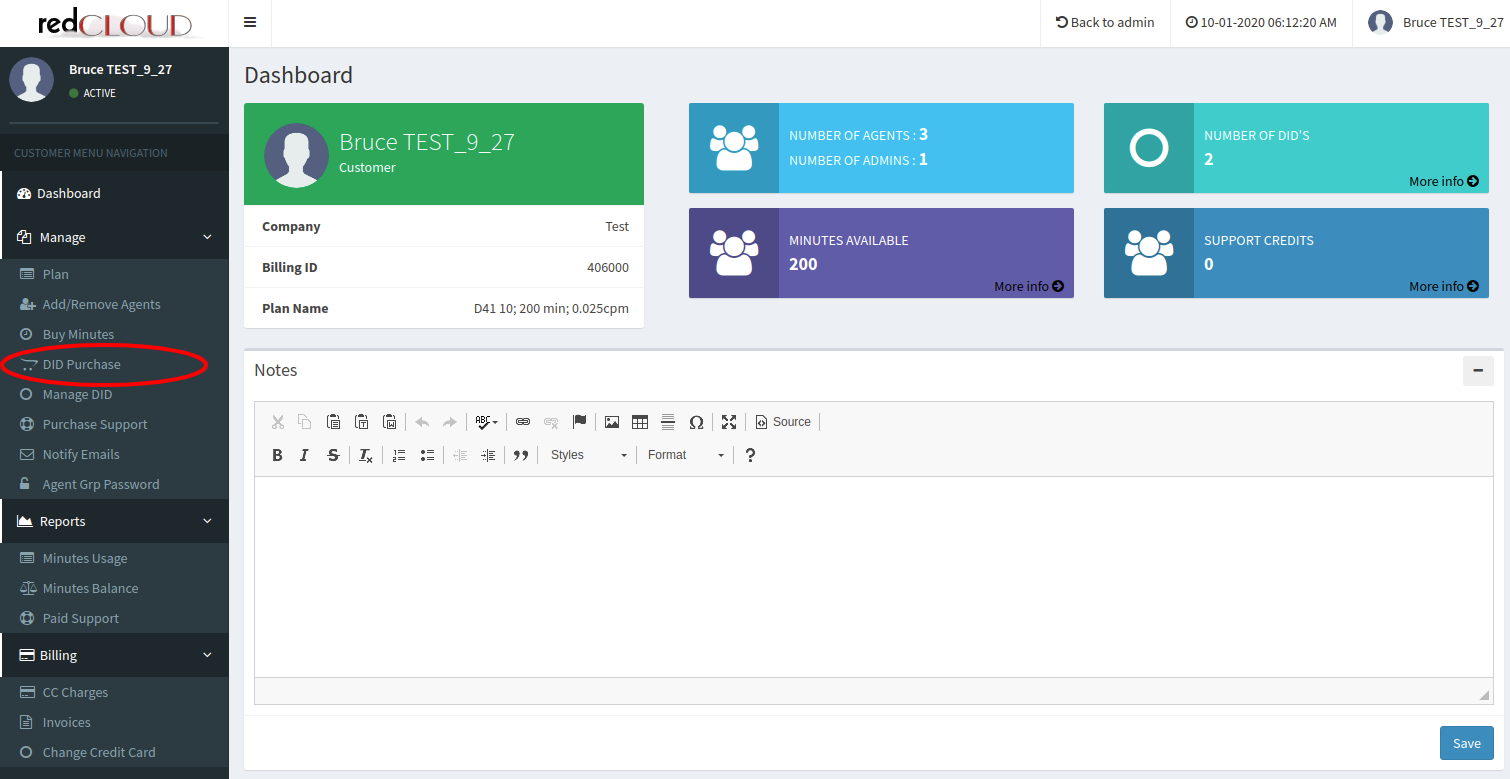
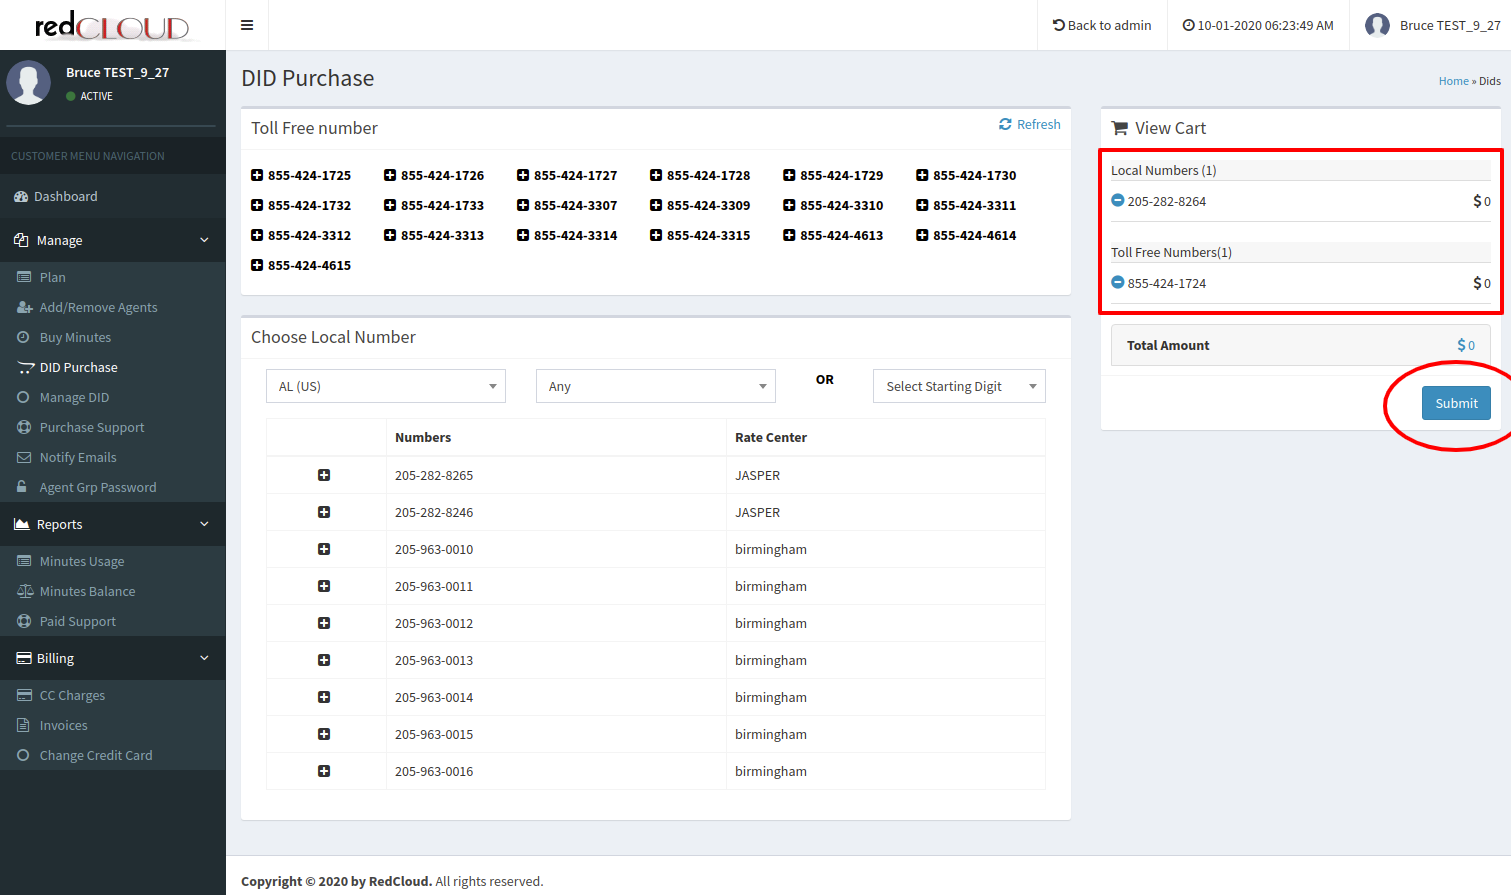
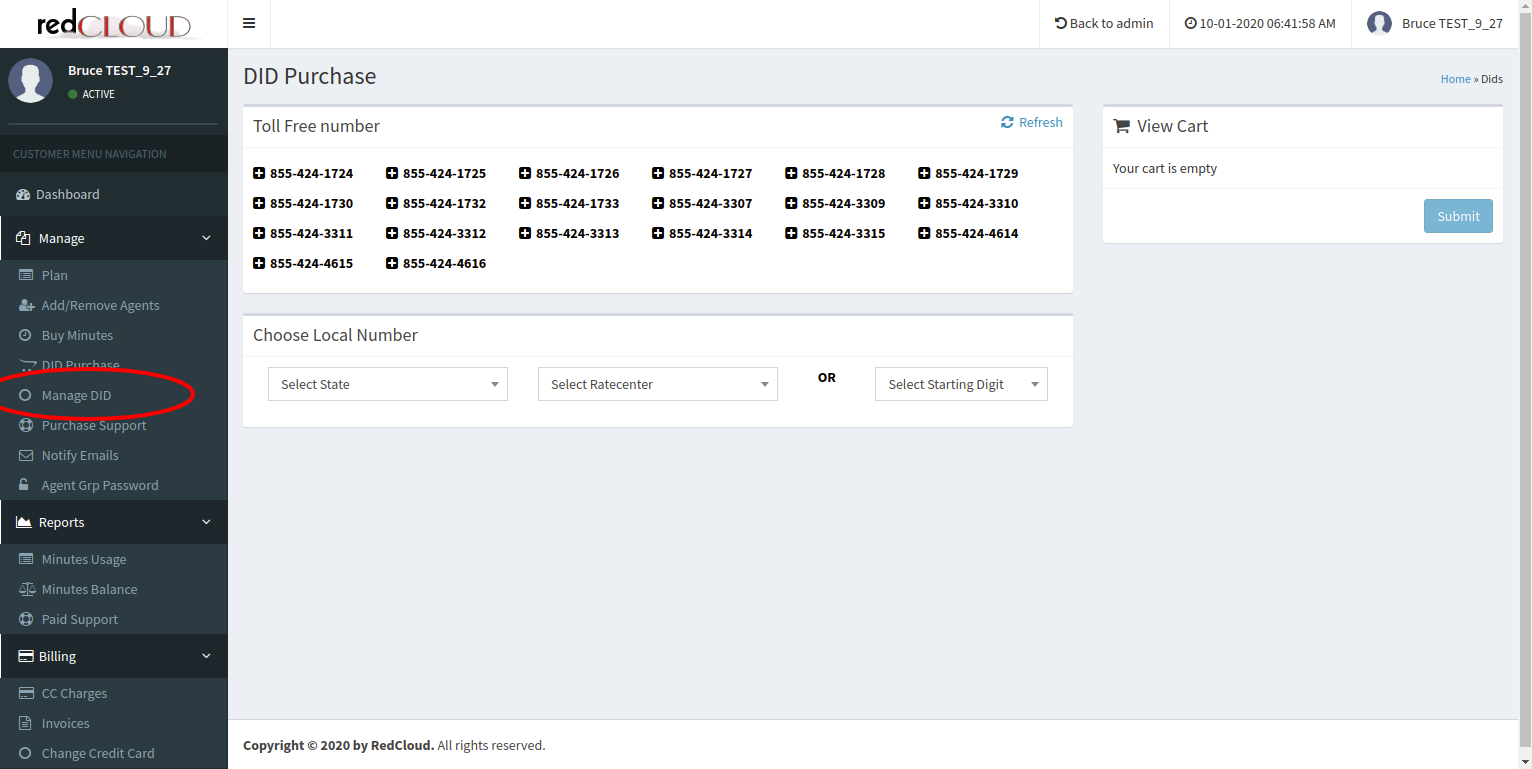
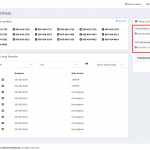
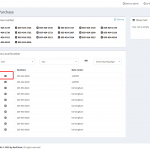
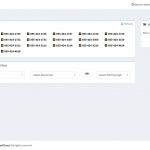
- For purchase the Toll FREE DID and Local DID, you are able to find options “DID Purchase” under the “Manage” section on the left sidebar.
|
|
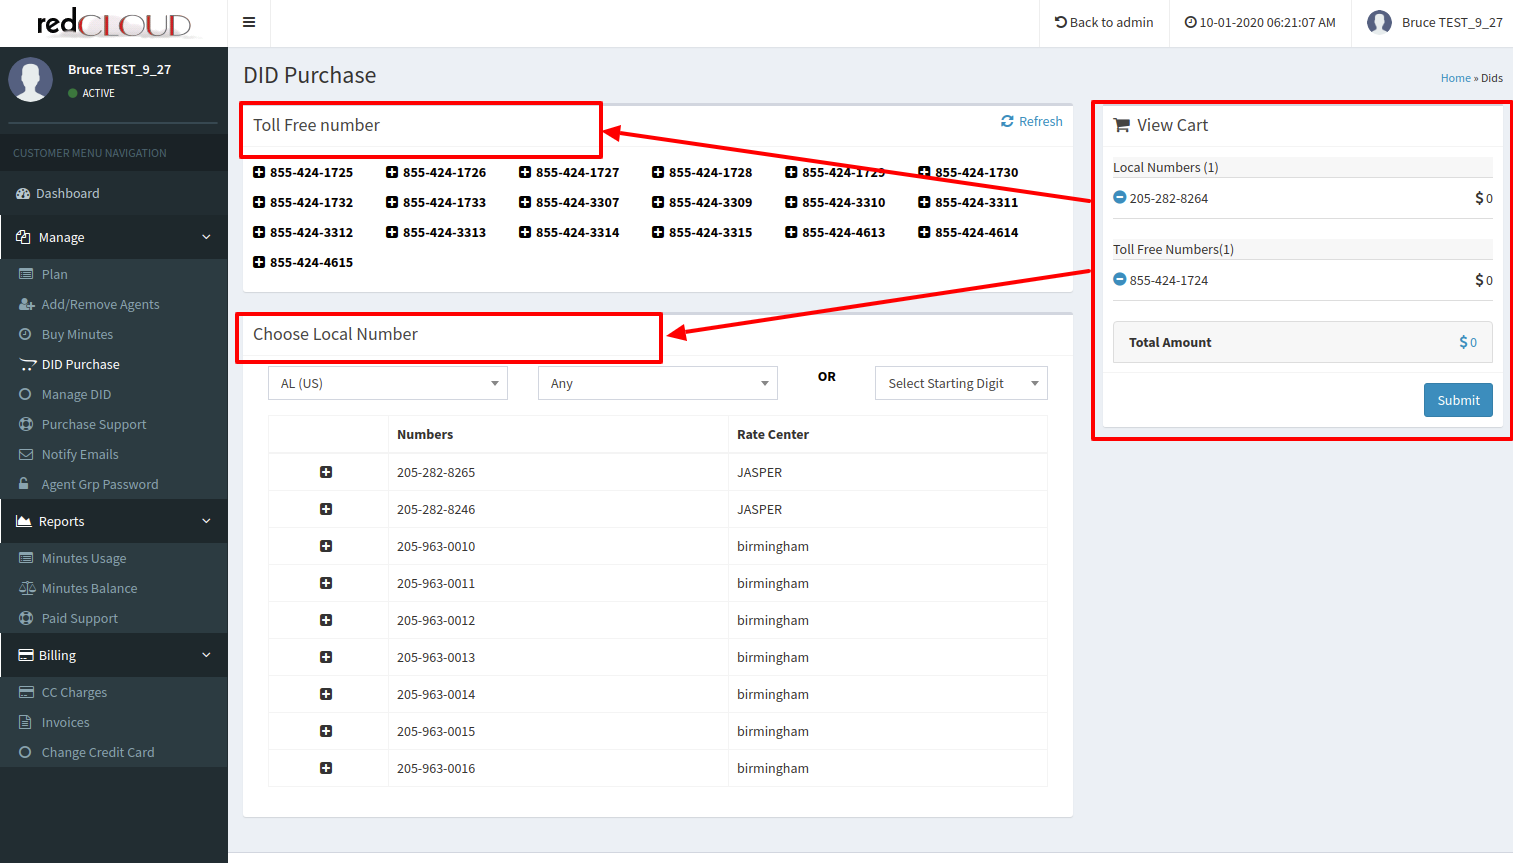
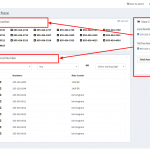
- Once you are there you are able to see two sections where DID is listed. One is for Toll Free Number and second is for Local DID number which you are able to filter out by your choice.
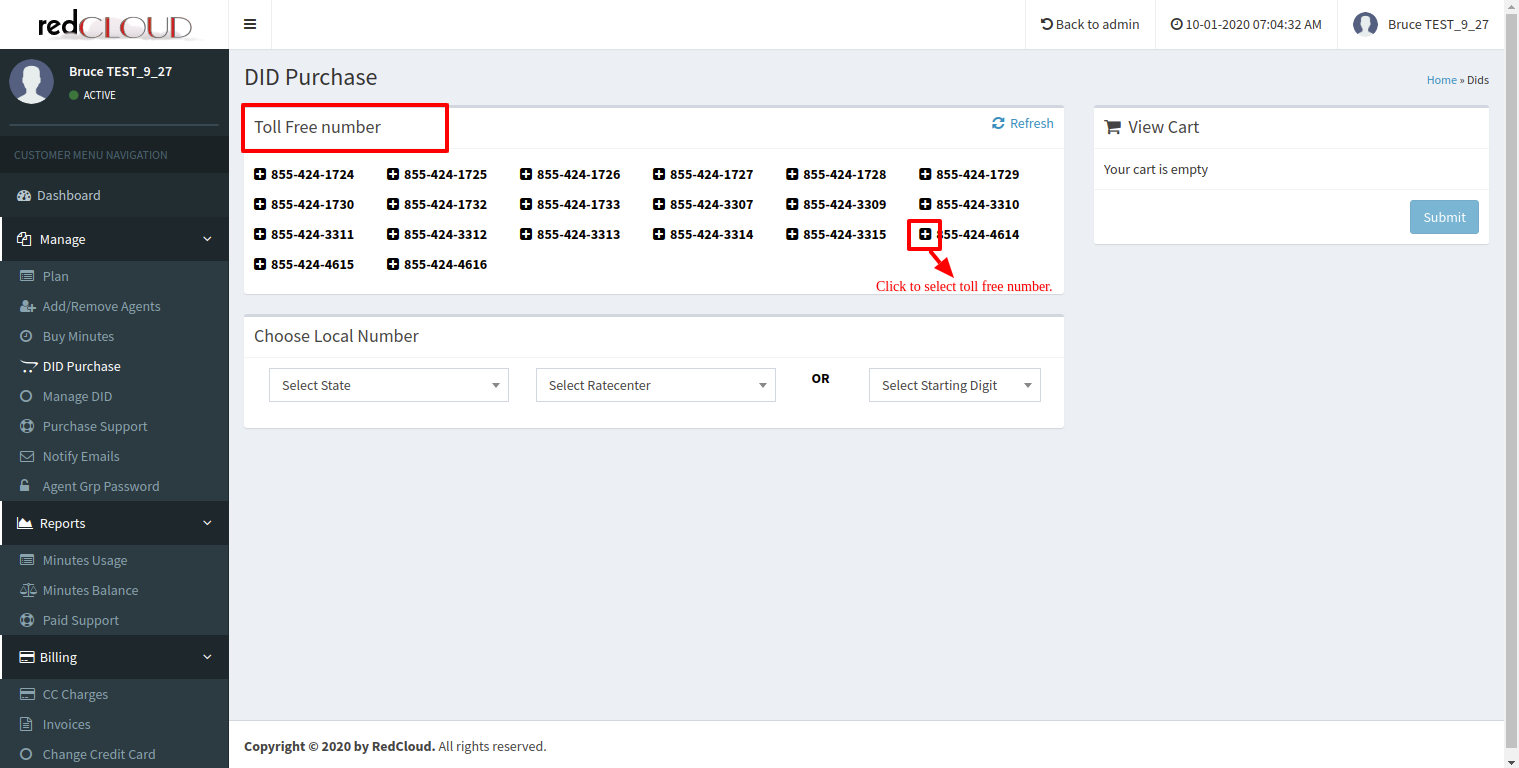
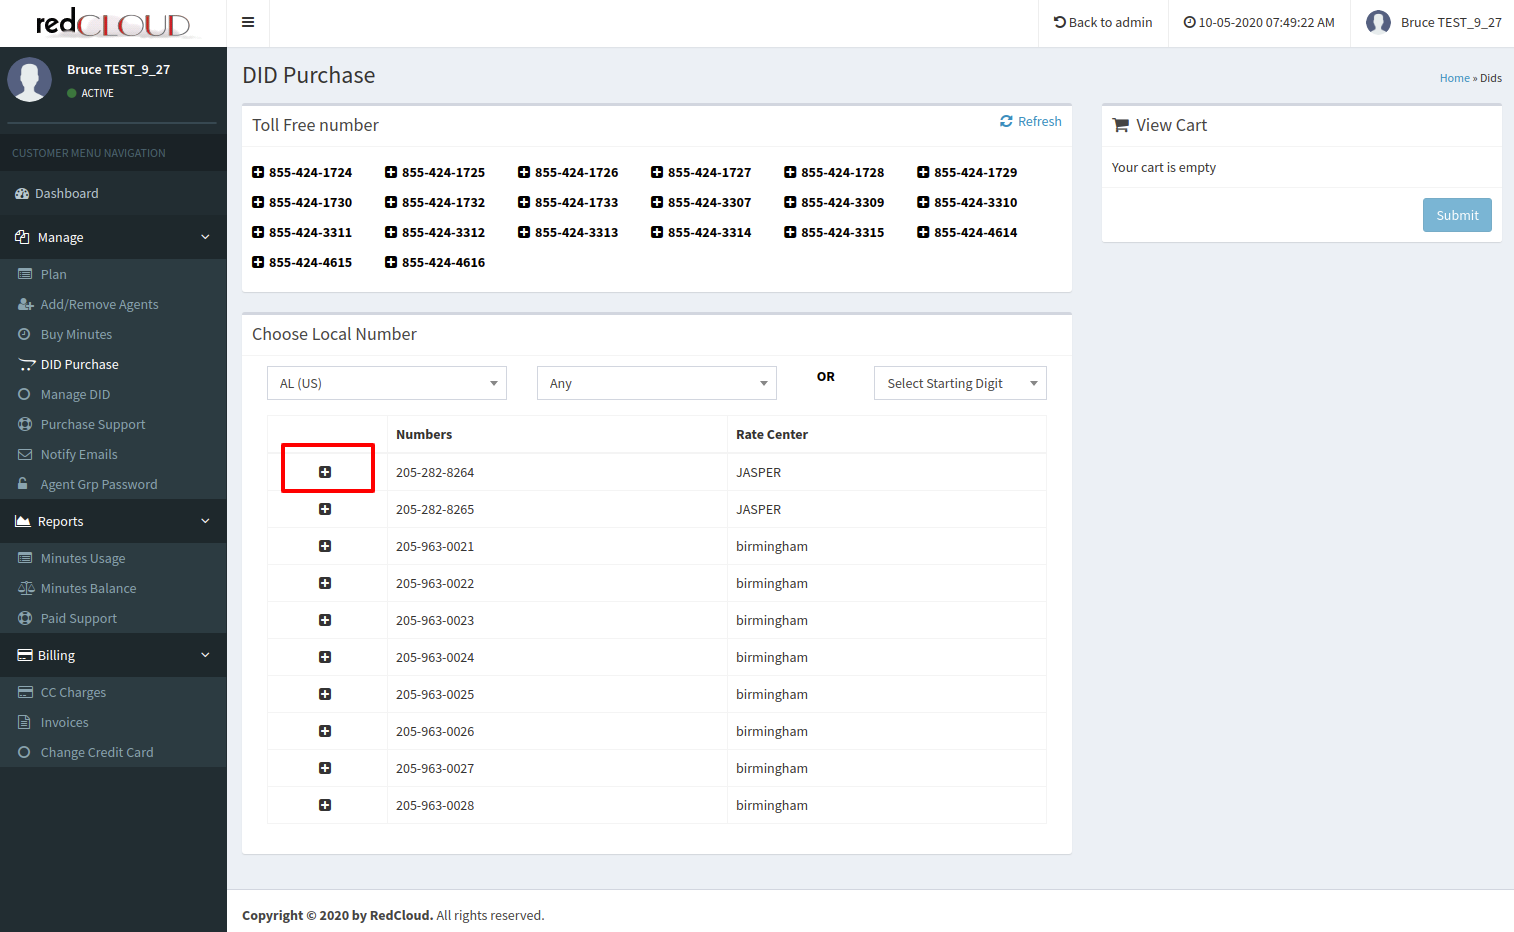
Add TOLL FREE Number:
- In the “Toll Free Number” section where the DID number is pre-populate with the ‘plus’ sign. Which is used for adding to the cart. Once you click on the ‘plus’ sign you can see that number in the cart which is on the right side of the page section.
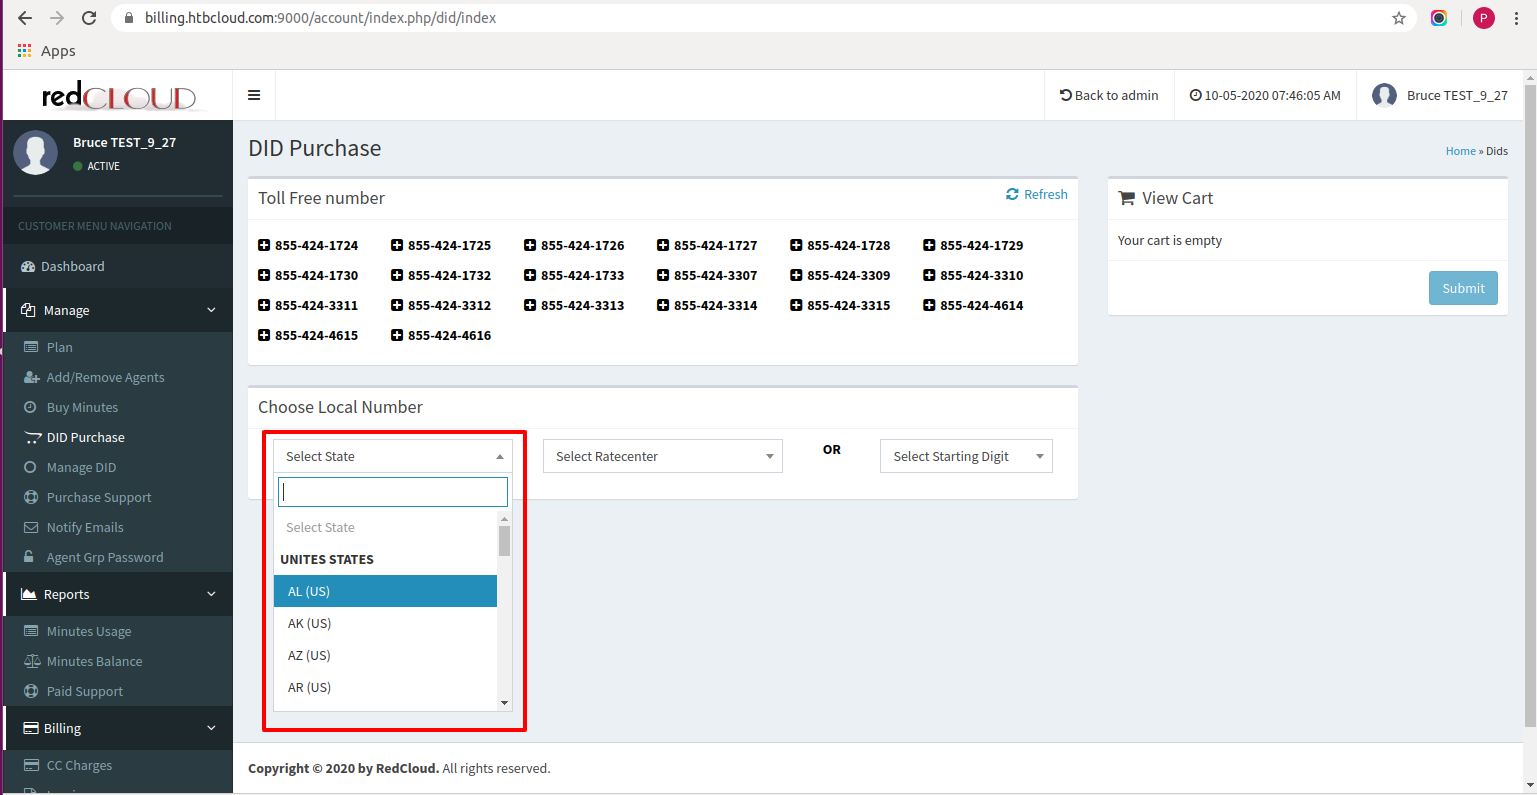
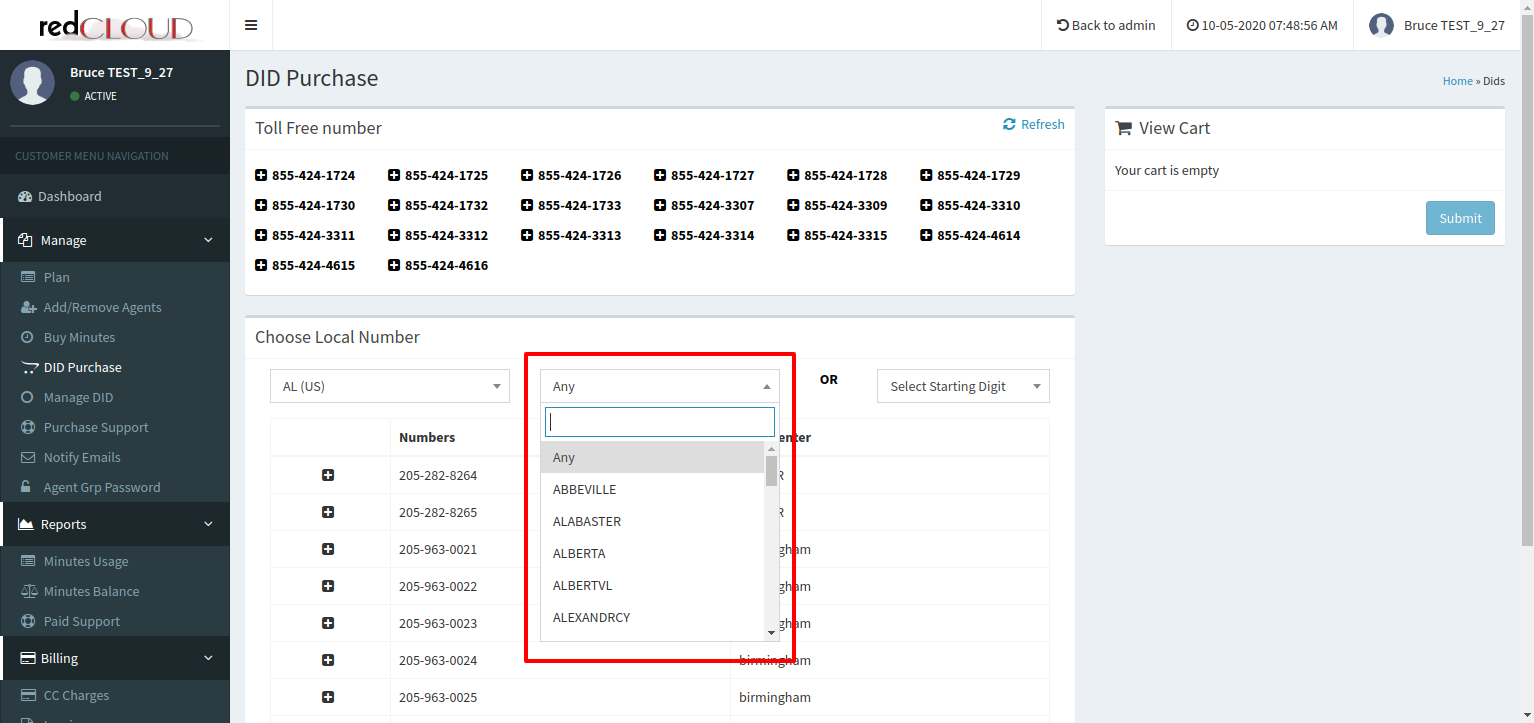
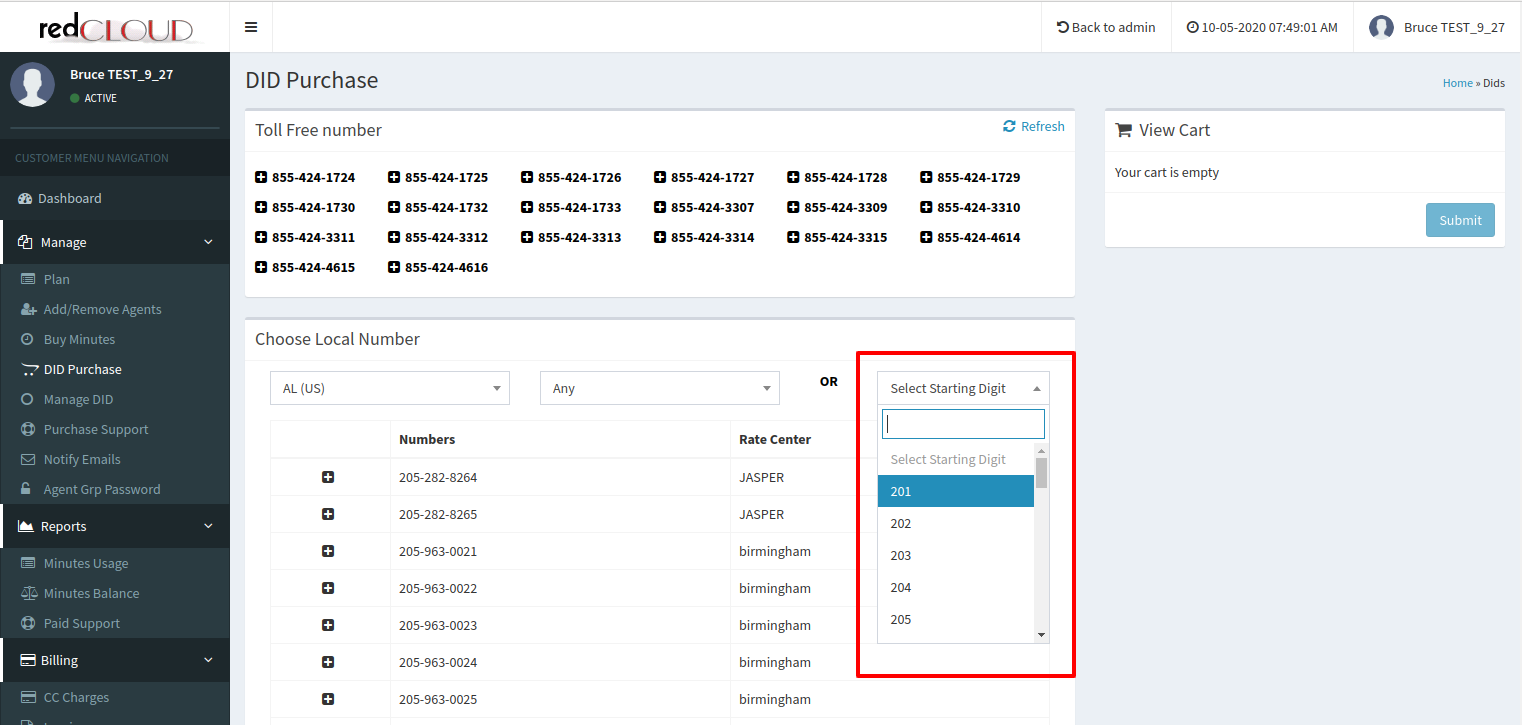
Add LOCAL DID Number:
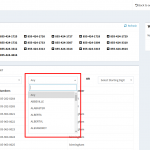
- You are able to LOCAL DID number list by given filter options, like state and rate-center based DID or NPA base DID.
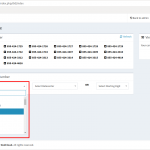
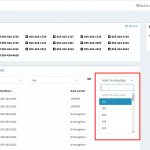
- Once a filter is selected the number is displayed with the ‘plus’ sign based on the availability.
- Once you click on the plus sign the number will be added to the cart which is on the right side of the page section.
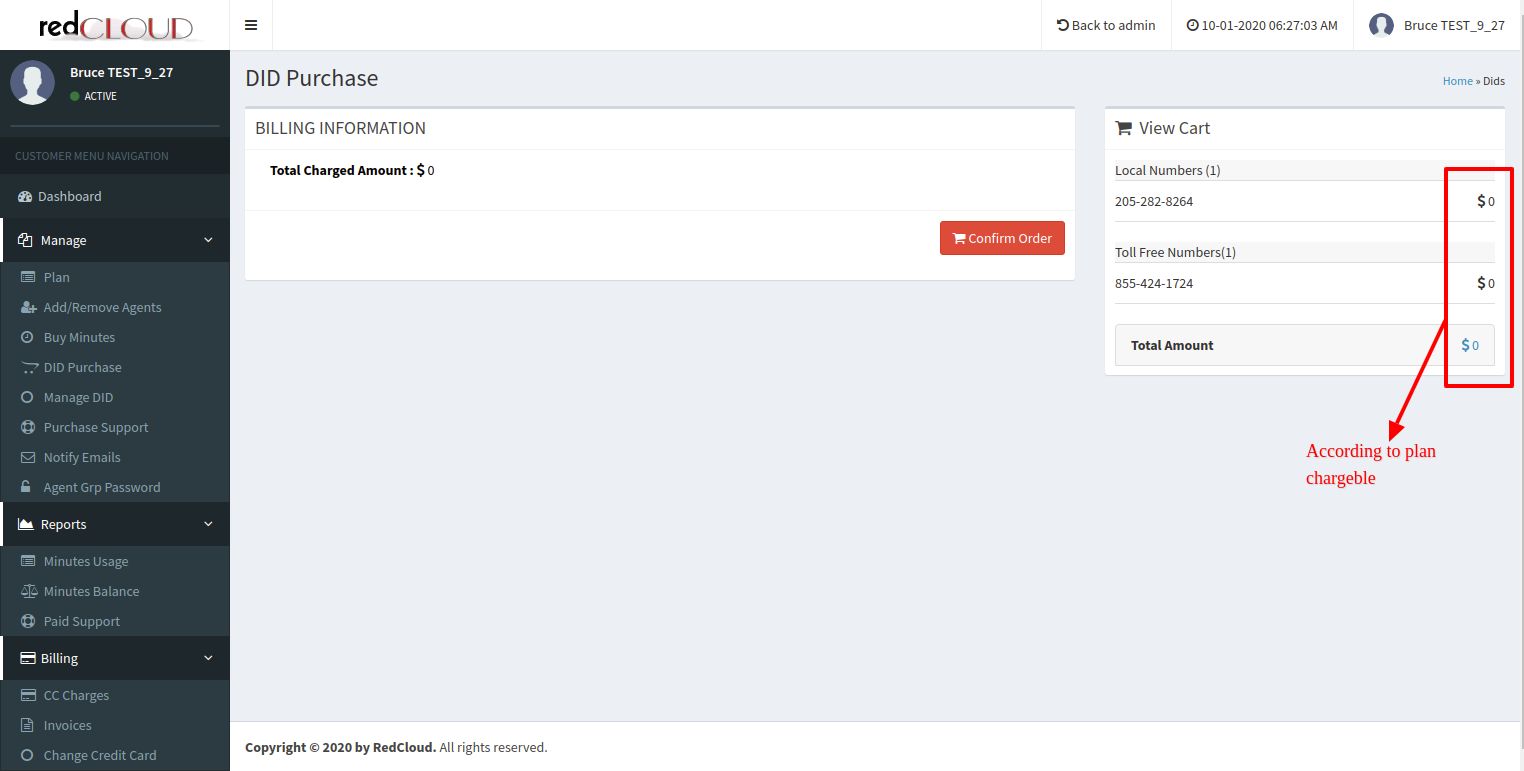
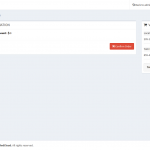
Cart
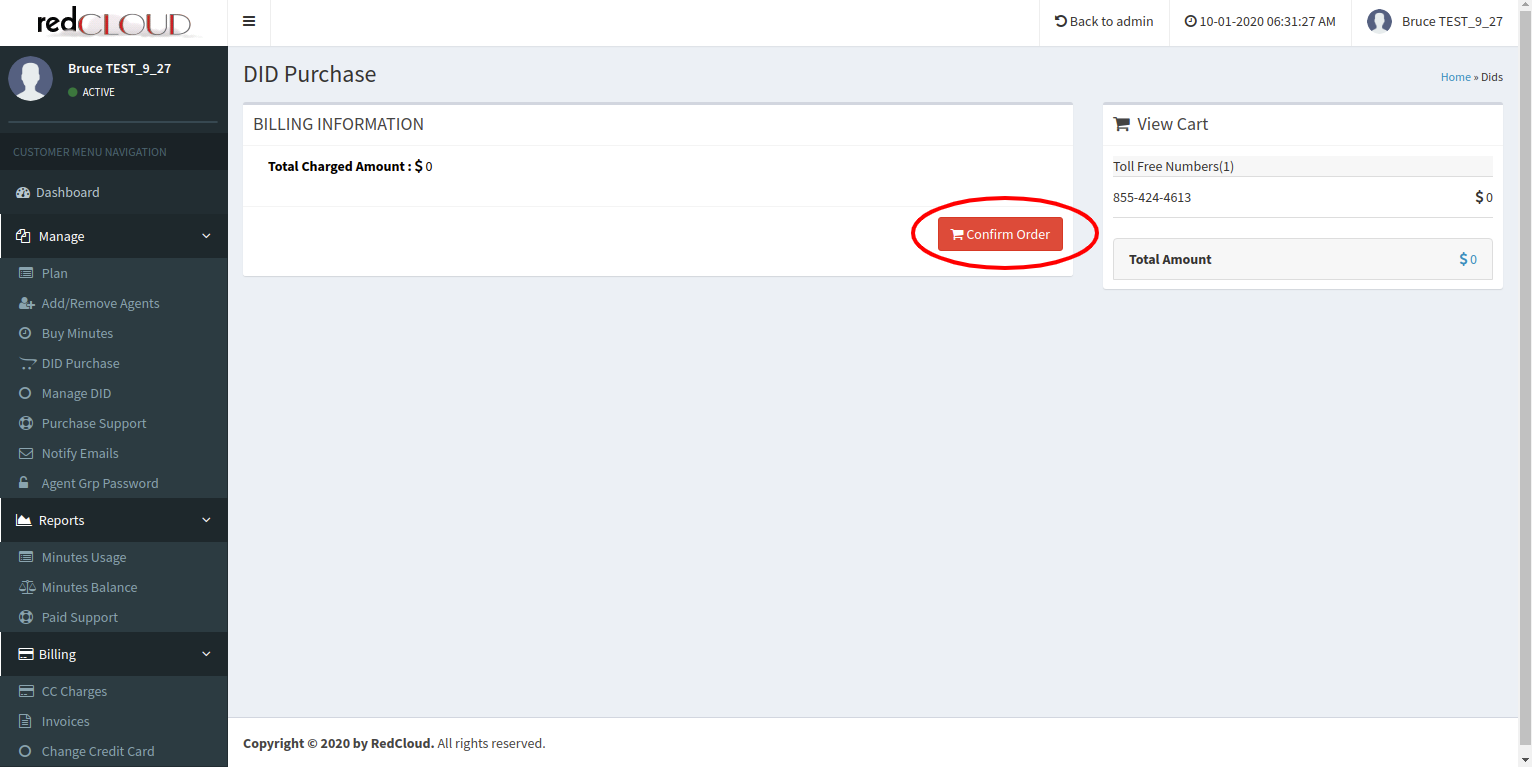
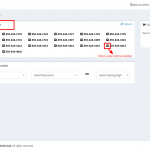
- You can see selected numbers in the cart which you want to buy and by clicking on ‘Submit’ you will redirect to the “Billing Information” page. The amount and the Credit Card details will be displayed if your plan has chargeable DID otherwise it should be zero at page.
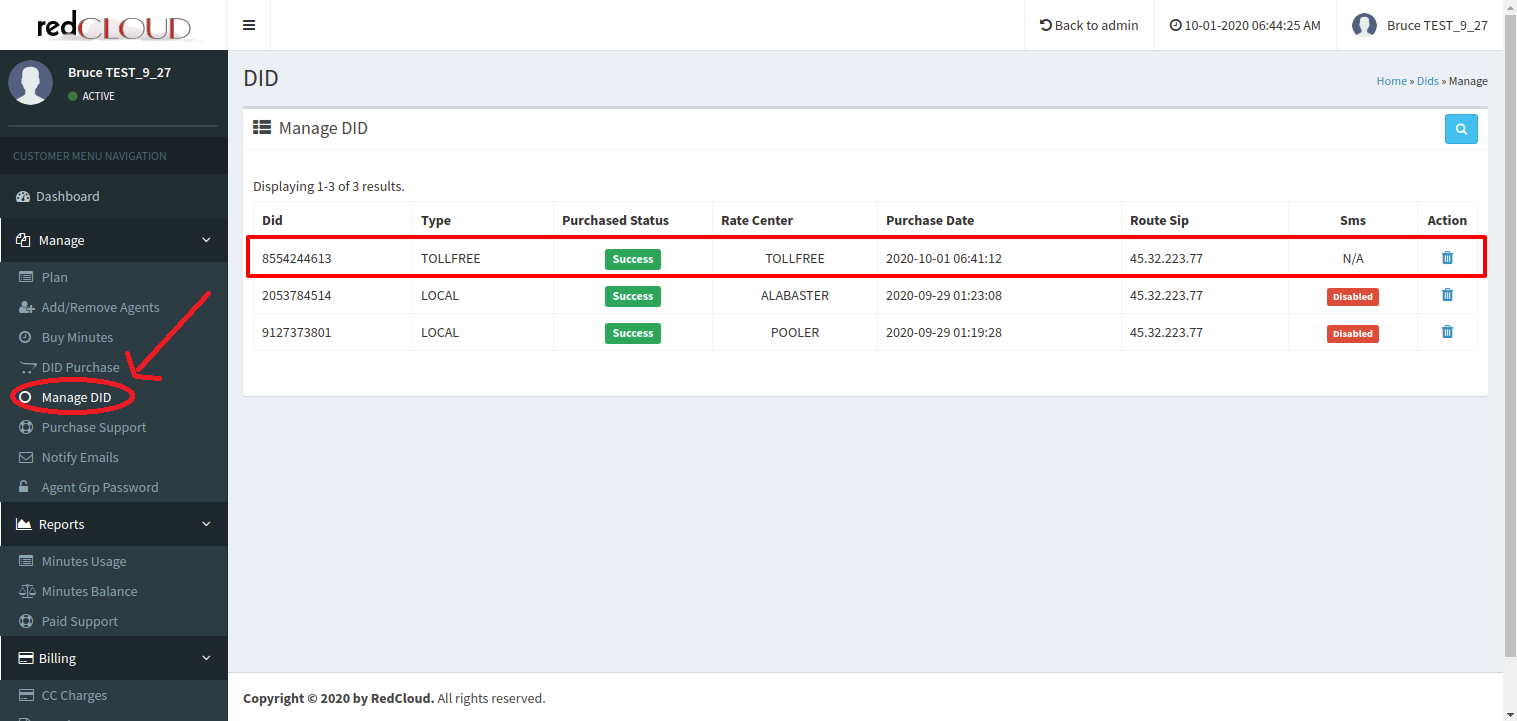
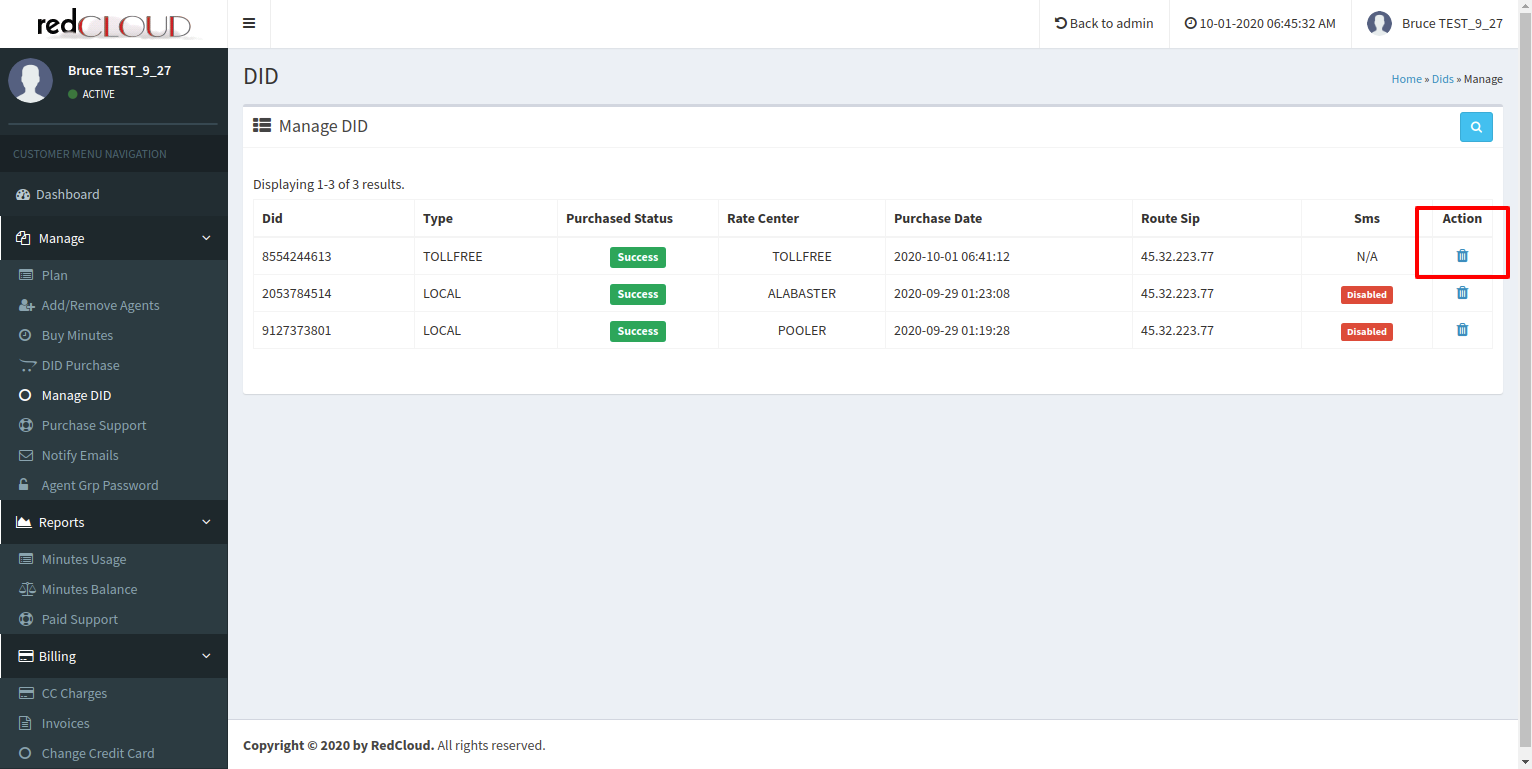
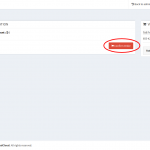
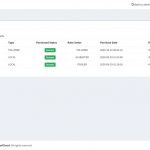
- To purchase selected DIDs need to click on the “Confirm Order”. Once your order is done you will see those DIDs in the “Manage DID” menu under the “Manage” section on the left sidebar..
Remove DIDs :
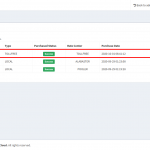
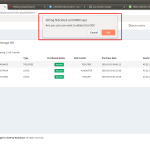
- By going under the “Manage DID” menu you will be able to see the action column beside each of the DID in the listing.
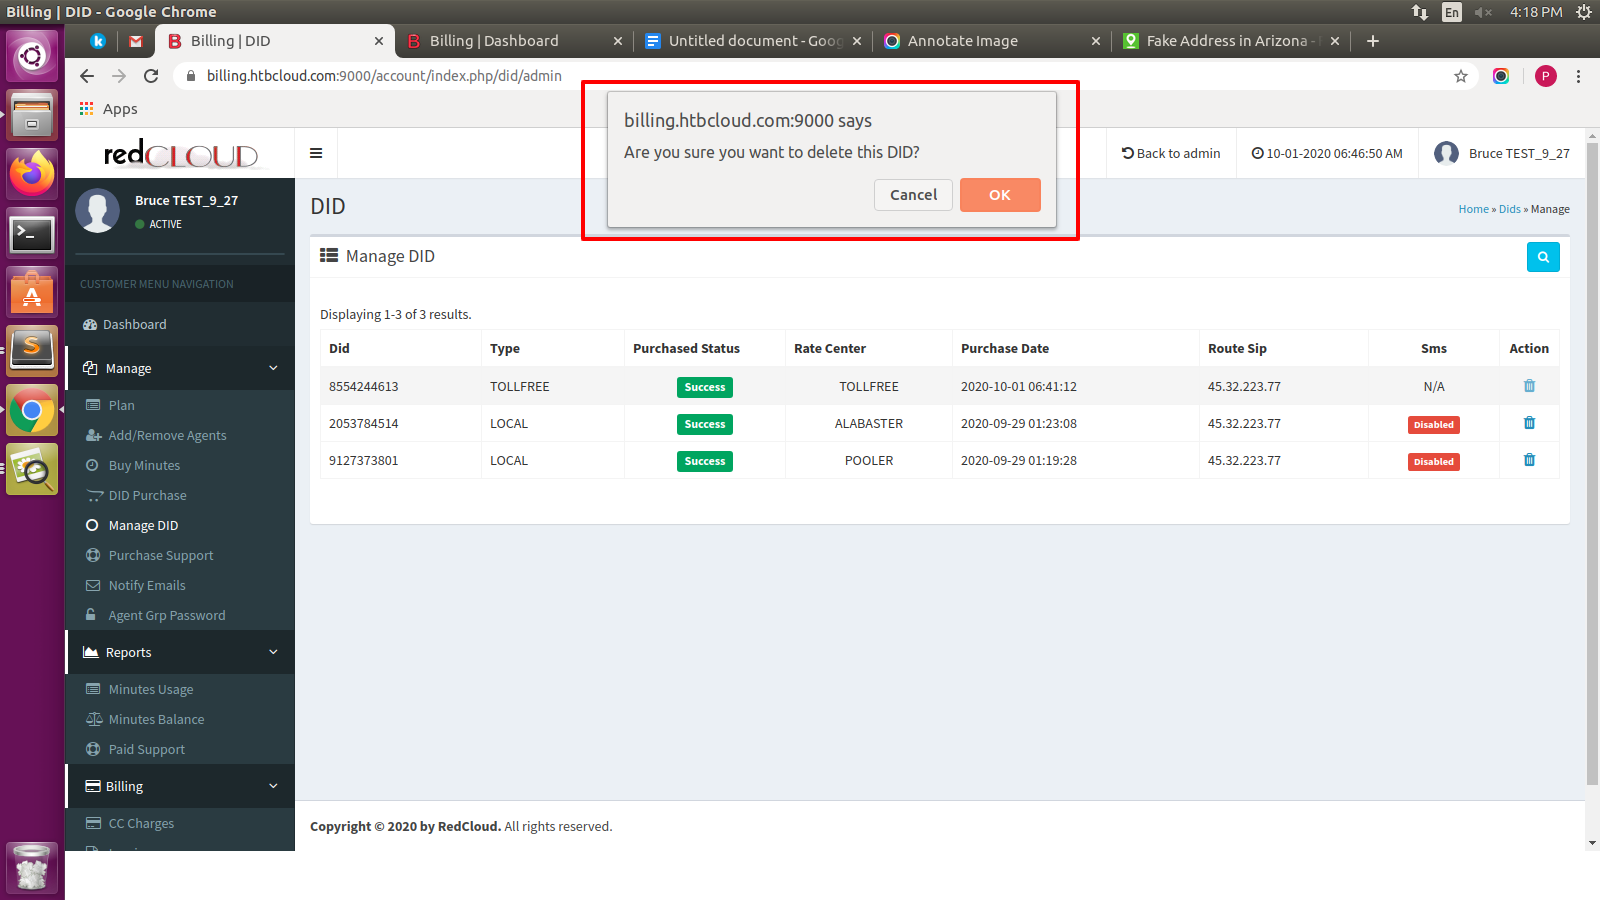
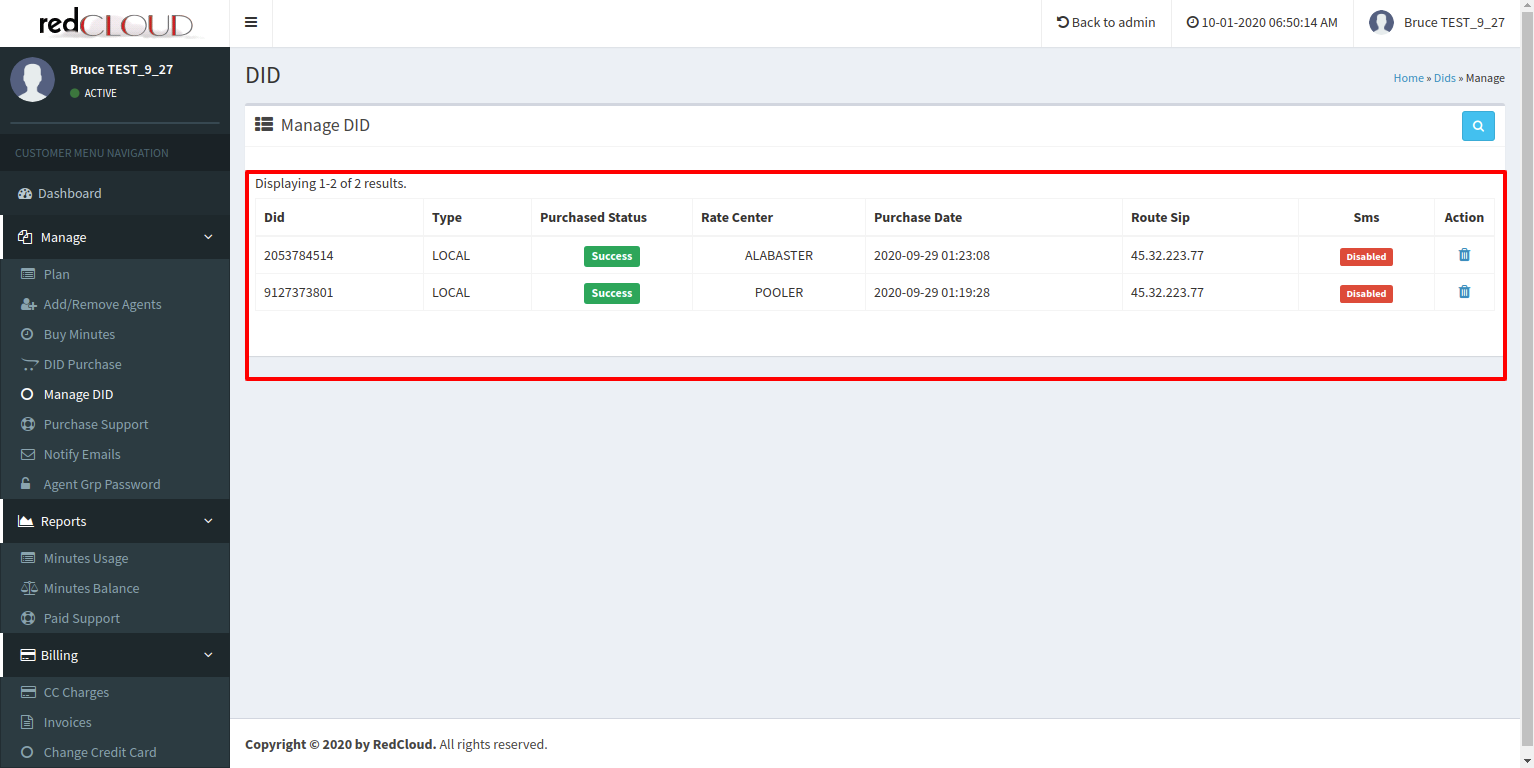
- By clicking on the delete icon it will ask for the confirmation and once after confirm it will remove from the dialer server as well as from the account portal accordingly.
67views